Sunday, May 9, 2010

Chapter 37: Captives And Pettygree's Decision

Date: 22 October 1899
Location: Entrance To The Secret Valley
Situation: KHAN'S Retreat
Are You Clicking Images 1-2 Times And Enlarging Them?
----------
KHAN'S REAR GUARD
After the battle of the 16th., KHAN's Army retreated homeward  to The Secret Valley. You see his Rear Guard, The Red Sash Horsemen within one of the canyons on that journey. The stronghold is still an unknown number of days away. The Main Body is just up ahead out of sight.

The Red Sash Horsemen have three Imperial prisoners (photo center). Suddenly a horseman on the right levels his jezail firing at them!

There he is. What is his game? The Red Sash Commander with drawn sword has turned to find out.

He appears to be firing at three soldiers from The Khyber Field Force.

What will fate decree for this action? What is the identity of the trio? A few answers follow --- next as we go elsewhere and backwards in time....
----------------------------------------
Four days ago....
Date: 18 October 1899
Location: Two Miles From The Battlefield  of 16 October 1899
Situation: The New Camp, A Decision And Inspection
-------------------------------------------------------------
Rifles, jezails and cannon have been silent for two days. The foe threatening the peace of The Frontier has truly vanished. The Imperials, thankful for the respite are restoring themselves in a different camp. Dr. James Watson has released a number of lightly wounded men back to their units as we look in on....

Annie out for a stroll whilst her friends Gunga Din and Sgt. Cutter propose a preposterous scheme to two other RE sergeants. Discussion appears animated. Whether duty and/or reason will prevail only time will tell. Meanwhile, we return to more sober subjects as we observe....

Assistant Surgeon 'Doc' Shaefer wiping his brow. Tired? Yes. However, he has the satisfaction knowing the number of wounded returning to duty has  been more than satisfactory. We might even conclude camp will be broken soon because of ammunition wagons being reloaded.

More of the camp comes into view. At headquarters, Chief Surgeon, Dr. Watson (helmet in hand) is presenting his medical report to Officer of The Day, Major Trevelyan, 10th Hussars. {Whitish tents on loan from the collection of Der Alte Fritz. Those in the lower right are new tents from Miniature Building Authority.}
Colonel J. Preece {10th Hussars} observes General Pettygree leaving his tent while....

A soldier tends his fire nearby.

Major Trevelyan: "General, Dr. Watson's report is very good -- considering."

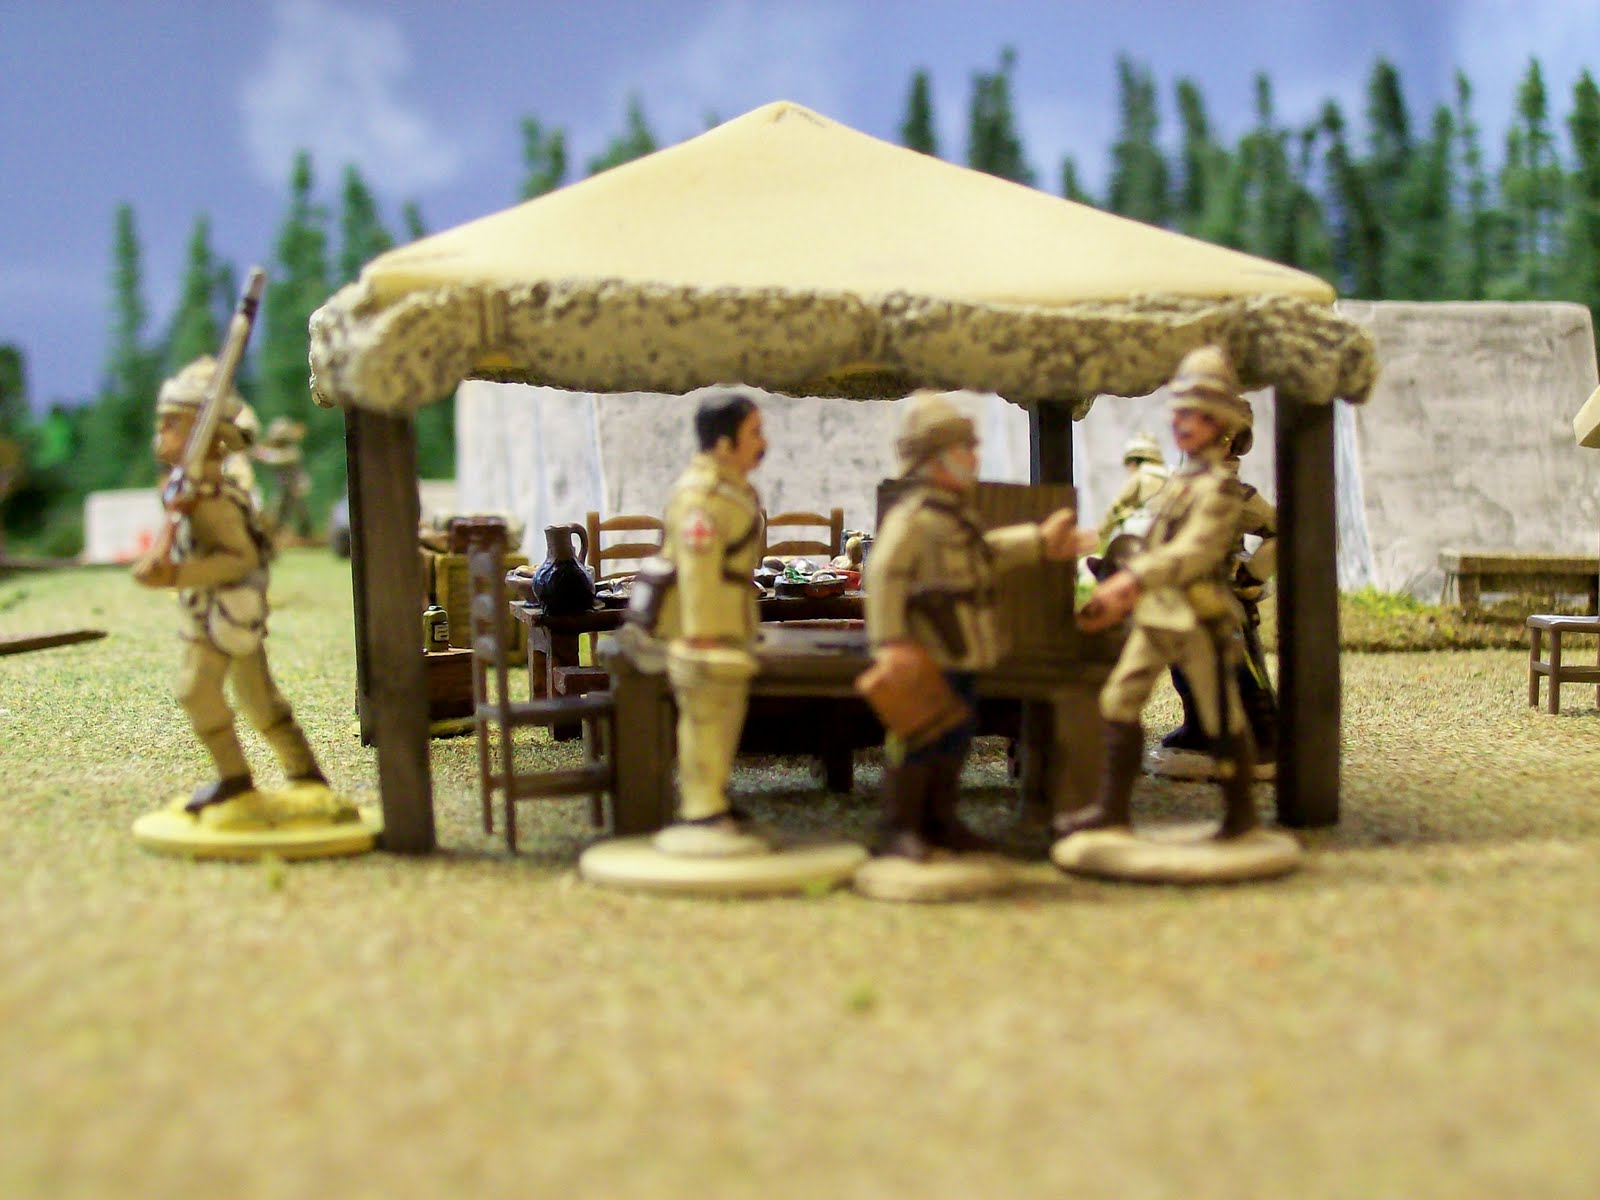
Dr. Watson: "Yes, General. Of our 76 casualties from the two battles of the 16th instant, as of today, only seven died, three are missing and sixty-six remain under care."

General Pettygree: "Yes Doctor. Very good. Hope for even better results in the next week or two."

Major Trevelyan: "Meanwhile Col. Lawford and two of his sowars from the 9th Bengal Lancers remain missing. It is thought they were taken prisoner during the charge and melee on the right flank. We've not found them."

General Pettygree: "Quite so. Poor devils."

Major Trevelyan: "Time for inspection Sir."

General Pettygree to ADC Major James Mitchell: "I am confirmed in my decision Mitchell to return to Fort Grant. We carry too many wounded and the fort is without sufficient garrison for the long term. You may take that down Mr. Pearson for The Times readers, if you please. Now let's take a look at the men."

Mr. Pearson: "What of Col. Lawford Sir and his missing men?"

Major Mitchell: "They knew the risk sir."

General Pettygree: "Aye, but there just might be a chance, though slim to rescue them."

The First Indian Mountain Battery {left} and the Elephant Battery are the first to receive the General's gaze.
The former suffered five casualties. Of these one died, one recovered and three remain in hospital. One man fell amongst the elephant guns who remains too wounded to return to duty.

Next are the plucky Bombay Miners and Sappers who suffered ten casualties.  Three recovered and seven remain under medical care.

The well-tested 1st Sikhs had twenty-one casualties. Only one died, two recovered and the rest are still being cared for.

Of twelve casualties among The 2nd Sikhs, two died, one recovered and nine remain under care.

Thirty-two Berkshires were wounded. Amazingly only two died, eight recovered leaving twenty-two under the care of the medicos. However, when the canpaign began, the battalion numbered 101 soldiers. Count what is left, if you please.

Col. Sinclair: "Good Morning General! I hay' the honor to report  only ten wounded, one poor laddy succumbed, I scare believe not more and of the rest one is back to duty whilst eight remain with the Doctor."

General Pettygree: "I'm sorry to learn your Colonel is among the missing, perhaps a prisoner with two of the sowars. That leaves you as the sole British officer in the 9th Bengal Lancers."

Lieutenant Gill: "Aye Sir."

General Pettygree: "Due to your conspicuous duty helping to save the left flank, I promote you to a captaincy placing you in temporary command in Senior Captain Paget's absence."

Captain Gill: "Thank you General."

Casualties were fourteen. Three recovered, three are missing in action including Col. Lawford and eight remain in hospital.

The 10th Hussars guarded the rear of the Khyber Field Force two days ago suffering no losses. When the campaign commenced the regiment had 26 men. Twenty are pictured. Attrition.

The Khyber Field Force will return to Fort Grant ending the 1899 campaign year.
----------
CLOSING REMARKS

1. KHAN'S losses were 276 miniatures. In the course of the next few months 86 recovered; the rest lost.

2. Pettygree's losses were 105. Immediately after the engagement 21 recovered 9 were lost, 3 deemed captured, the rest remaining under care.

3. Two weeks later on 1 November 1899, 23 more recovered, 11 more were lost, 3 still deemed missing whilst the rest remained under care.

4. When campaign time reaches 1 December 1899, D6s will again be thrown for the Imperials still under care.

4. Dr. Watson's staff was thought to have better medical care than KHAN; a campaign convention (liberty?) to keep the Imperials in the field longer against a foe vastly outnumbering it.
----------
Your remarks are welcome below at the word "comments."
----------

Monday, May 3, 2010

Chapter 36: The Next Day

Date: 17 October 1899
Location: Two Miles From The Abandoned Escarpment Camp
Situation: Day After Yesterday's Two Battles
Click or Double Click Images Filling Your Screens With 'Em
------------------------------
Two battles were fought on 16 October, 1899. KHAN attacked The Escarpment Camp at dawn withdrawing to a fixed position behind a stream and ridge two miles away. General Pettygree gave chase fighting a second battle there in the mid-late afternoon holding the field at the end thanks to the arrival of a Relief Column appearing on KHAN's left rear flank. The next day, on 17 October....


The Imperial Army retired to the baggage forming a large three-sided square. One face remained open. From there....

General Pettygree observed....

The arrival of Lt. Col. Savory's Relief Column. His infantry will be posted along the open face of the square. Seen are: 2nd. Sikh Battalion, 3/9th Bengal Lancers and a 7" Howitzer belonging to our familiar 1st Indian Mountain Battery. To the right elephants are drinking at the creek.

Lt. Colonel Savory (2nd. Sikh Commanding Officer) leads The Relief Column in. Waiting from left to right are Times Correspondent Mr. H. Pearson taking notes for his readers and Major J. Mitchell, ADC to General Pettygree in the center.

Better view of the square as The Relief Column's approaches. Within the square are:

Facing You:
2/10th Hussars. Seaforth Highlanders, Bombay Miners and Sappers and 2.5" Mountain Guns {Highlanders kindly on loan from the collection of Der Alte Fritz}

Facing To The Right:
1st Sikh Battalion

Facing Away (Top of image): Berkshires 66th Foot and 2/9th Bengal Lancers

Center of Square: Baggage

Approaching From The Left: The Relief Column previously identified.

Not Shown:
1/9th Bengal Lancers: Off screen upper right.
Lt. Gills Troop of 9th Bengal Lancers: Off screen lower left.
1/10th Hussars: Off screen lower right.

The General on the grey takes it all in. The enemy has vanished.
----------
CLOSING REMARKS

1. Chuck's Remarks:
"My initial plan for this game was to keep most of my troops hidden beyond the river [and behind a long ridge] with a couple of units on the British side of the river to snipe and harass the British as they advanced. I left one unit of swordsmen the British left flank and a unit of rifle men in the center. My plan was to draw the British across the river then hit them with the bulk of my troops. As the British advanced, the hail of fire became too great and I pulled the advance troops back over to the native side of the river."

"About this time one of the special events occurred and 120+ allied fuzzy wuzzies appeared behind my lines. This was great boon to my force and as the game wore on they proved to be one of the best units of the game. They marched clear across the table, under a hail of rifle and cannon fire, saw off a unit of lancers, and assulted and nearly broke the main British [dog-leg line]. The Britsh managed to spot some of my hidden troops beyond the river and halted their advance. This forced me to deviate from my plan as I now didn't think the British would advance across the river. I sent a large portion of my troops across the river so they would have time to organize before the foe advanced any closer."

"I left a large cavalry unit and a unit of Household rifles hidden to the rear and I'm glad I did. The last special event card came up planting a large British force on my left flank behind my lines. If I hadn't had those hidden troops I would have been in real trouble. As it turned out the British relief force didn't advance much beyond its starting point and we just ended up trading pot shots at each other for the game."

"My advance across the river was a bit of a surprise and did quite a bit of damage to the British force. [Ed note: No kidding!!] The outcome of the game came down to a couple of close combat fights. The fuzzies on the British right side and some swordsmen in the center. The fuzzies fared well in combat but had suffered a lot of casualties on the way in and just couldn't break the British right flank. The swordsmen in the center managed to push the British back and were close to breaking them until General Pettygree himself intervened using his leadership to hold his troops in place."

"Bill and I agreed to call the game at this time as both sides had suffered a lot of casualties. The British had won the battle but due to the heavy losses they lost the campaign of 1899; at least for the time being. This was a lot of fun to play and Bill is an excellent opponent. I'm looking forward to the next instalment."

2. It is not possible to gather friends for weekend games as much as all of us would like; a natural thing. So the decision was made last year to have short session games on occasional weeknights. If a couple of evenings are needed, all the better. This battle was one of these between Chuck and myself who lives a short two town distance away; ten miles I suppose.

3. The game was played in three sessions on weeknights. The third session was only one turn wherein General Pettygree held the line as miraculously explained in the previous chapter. All three sessions were nail biters! A good thing for colonial gaming.

4. Viewers/readers, your remarks are always welcome. Click on the word "comments" below.

----------