Sunday, September 26, 2010

Chapter 38: Reinforcements En-Route To Fort Grant

Date: November 01, 1899
Situation: Reinforcements En-Route To Fort Grant
Location: Bombay to Fort Grant Rail Line
Photos expand agreeably when clicked 1-2 times.

Northwest Frontier Village of Rhami. Pack animals are bringing in supplies.

Whilst newly raised 4/9 Bengal Lancers depart Rhami for Fort Grant. They will exercise along the way.

The squadron was previously quartered at Pune atop The Deccan Plateau. It has not seen action.
Squadron Commander Dyce-Powers on the right. Supernumerary: Captain Lucien Verbeek, Belgian Grenadier Guards on the left.

King Leopold II of Belgium asked the Britannian Government to allow Captain Verbeek to accompany The Khyber Field Force commanded by General Pettygree. His mission is to gain experience useful for service when he returns to the Army of his countrymen.
Jeff Cavender artfully painted Captain Verbeek and his mount. Thank YOU Jeff!

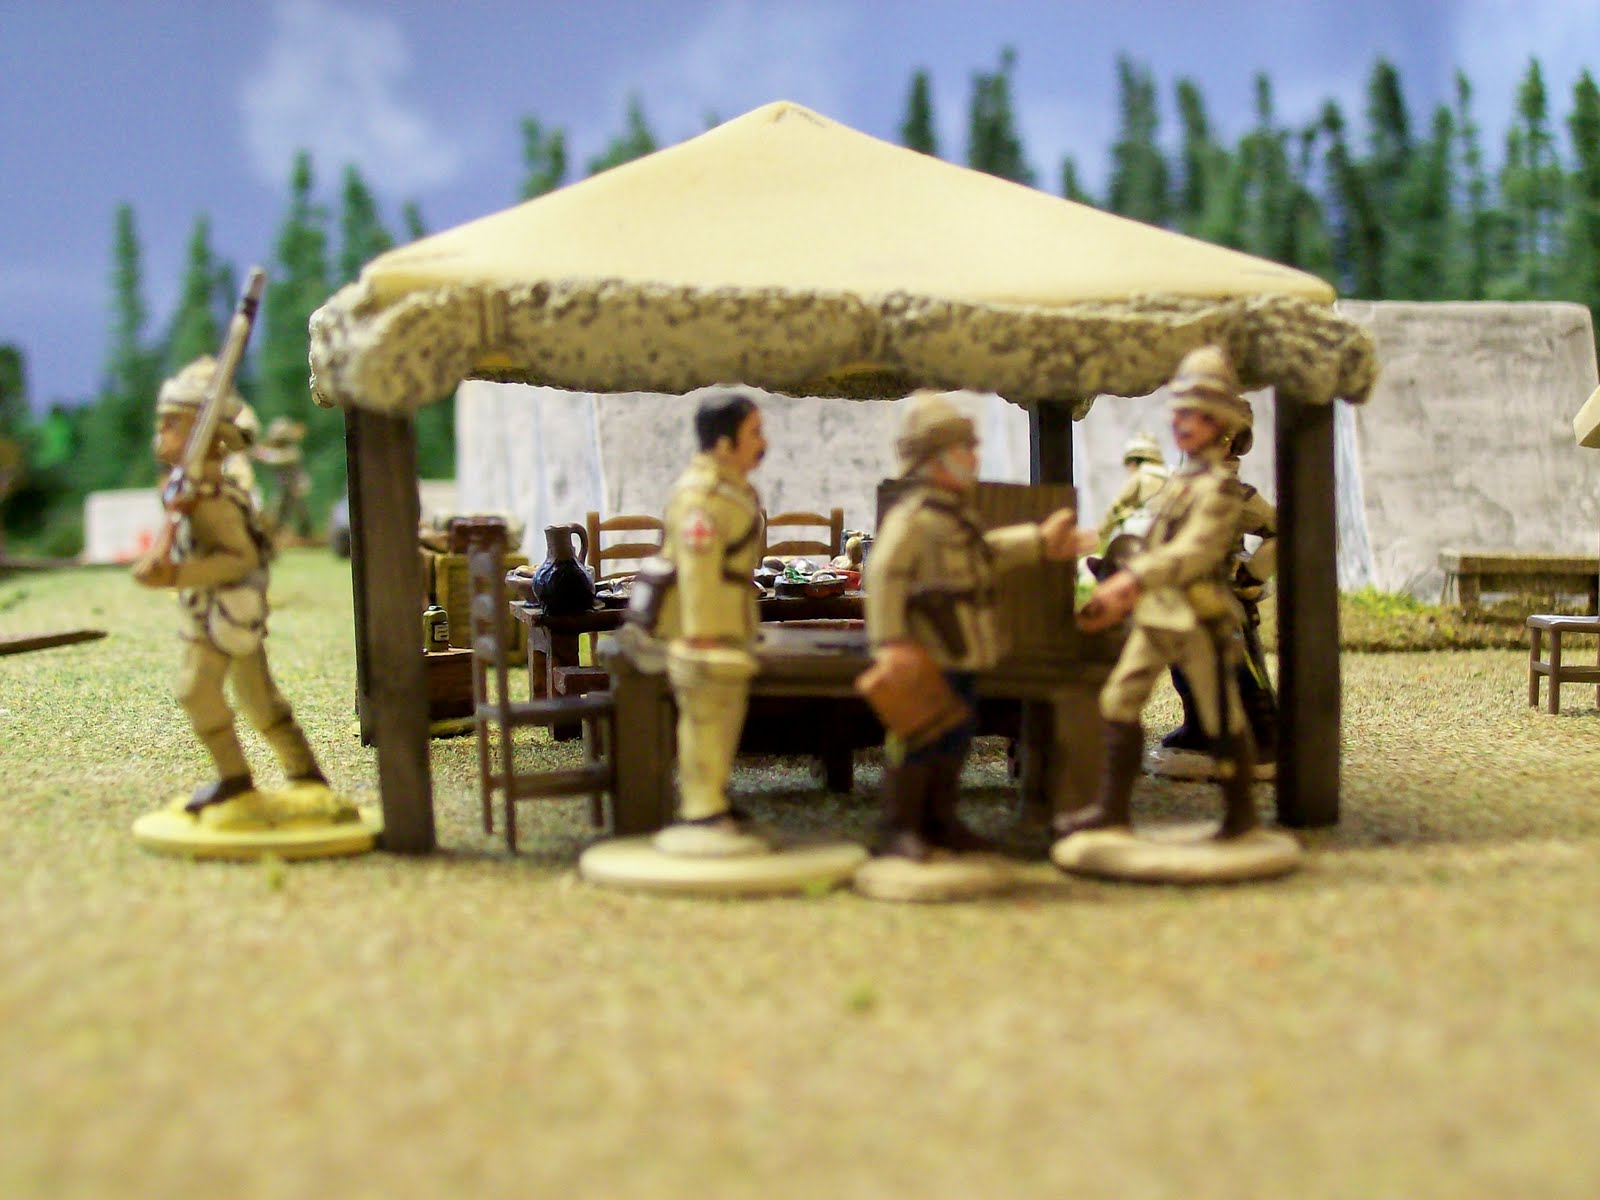
We hear a train a com'n, com'n round the bend.
Belch'n thick black smoke, an' blacker since I don't know when.

What cargo does it bring? Food and beverages for Jepson's? Another round of Ottinger if you please.

A British Naval Contingent. See "Closing Remarks" below for the storyline.

The sailors are supported by a Gatling Gun. The Khyber Field Force will need it!

Meanwhile....


--------------------
CLOSING REMARKS

1. The naval contingent commenced its journey by motor conveyance from the Perry Factory in Nottinghamshire arriving at the home and studio of John Preece in Wales. Passing restful bucolic moments there whilst being expertly uniformed and accoutered, they afterwards boarded a flying contraption for America. After several more motor vehicle rides they arrived here descending to the basement wherein lies The North West Frontier and other places. Delighted to have them and very smart they are. (John is not taking new painting commissions at this time.)

2. The railroad was assembled mostly from The Lionel Train Corporation. Trackage is Gargraves. Lionel's Train Master Command Control System allows for walk-around wireless hand-held remote control - a singular and wonderful contraption.  The railroad was put away not quite a decade ago but is having a Renaissance of its own for the NW Frontier and a dear little fellow who just turned five years old.

3. Otherwise: Jepson's and the buildings were made by Miniature Building Authority. The train station is a Lionel product. The white-clad horsemen were purchased at Little Wars 2010 from Recreational Conflict; Bulgarians actually, but they aren't Bulgarians here!

Sunday, May 9, 2010

Chapter 37: Captives And Pettygree's Decision

Date: 22 October 1899
Location: Entrance To The Secret Valley
Situation: KHAN'S Retreat
Are You Clicking Images 1-2 Times And Enlarging Them?
----------
KHAN'S REAR GUARD
After the battle of the 16th., KHAN's Army retreated homeward  to The Secret Valley. You see his Rear Guard, The Red Sash Horsemen within one of the canyons on that journey. The stronghold is still an unknown number of days away. The Main Body is just up ahead out of sight.

The Red Sash Horsemen have three Imperial prisoners (photo center). Suddenly a horseman on the right levels his jezail firing at them!

There he is. What is his game? The Red Sash Commander with drawn sword has turned to find out.

He appears to be firing at three soldiers from The Khyber Field Force.

What will fate decree for this action? What is the identity of the trio? A few answers follow --- next as we go elsewhere and backwards in time....
----------------------------------------
Four days ago....
Date: 18 October 1899
Location: Two Miles From The Battlefield  of 16 October 1899
Situation: The New Camp, A Decision And Inspection
-------------------------------------------------------------
Rifles, jezails and cannon have been silent for two days. The foe threatening the peace of The Frontier has truly vanished. The Imperials, thankful for the respite are restoring themselves in a different camp. Dr. James Watson has released a number of lightly wounded men back to their units as we look in on....

Annie out for a stroll whilst her friends Gunga Din and Sgt. Cutter propose a preposterous scheme to two other RE sergeants. Discussion appears animated. Whether duty and/or reason will prevail only time will tell. Meanwhile, we return to more sober subjects as we observe....

Assistant Surgeon 'Doc' Shaefer wiping his brow. Tired? Yes. However, he has the satisfaction knowing the number of wounded returning to duty has  been more than satisfactory. We might even conclude camp will be broken soon because of ammunition wagons being reloaded.

More of the camp comes into view. At headquarters, Chief Surgeon, Dr. Watson (helmet in hand) is presenting his medical report to Officer of The Day, Major Trevelyan, 10th Hussars. {Whitish tents on loan from the collection of Der Alte Fritz. Those in the lower right are new tents from Miniature Building Authority.}
Colonel J. Preece {10th Hussars} observes General Pettygree leaving his tent while....

A soldier tends his fire nearby.

Major Trevelyan: "General, Dr. Watson's report is very good -- considering."

Dr. Watson: "Yes, General. Of our 76 casualties from the two battles of the 16th instant, as of today, only seven died, three are missing and sixty-six remain under care."

General Pettygree: "Yes Doctor. Very good. Hope for even better results in the next week or two."

Major Trevelyan: "Meanwhile Col. Lawford and two of his sowars from the 9th Bengal Lancers remain missing. It is thought they were taken prisoner during the charge and melee on the right flank. We've not found them."

General Pettygree: "Quite so. Poor devils."

Major Trevelyan: "Time for inspection Sir."

General Pettygree to ADC Major James Mitchell: "I am confirmed in my decision Mitchell to return to Fort Grant. We carry too many wounded and the fort is without sufficient garrison for the long term. You may take that down Mr. Pearson for The Times readers, if you please. Now let's take a look at the men."

Mr. Pearson: "What of Col. Lawford Sir and his missing men?"

Major Mitchell: "They knew the risk sir."

General Pettygree: "Aye, but there just might be a chance, though slim to rescue them."

The First Indian Mountain Battery {left} and the Elephant Battery are the first to receive the General's gaze.
The former suffered five casualties. Of these one died, one recovered and three remain in hospital. One man fell amongst the elephant guns who remains too wounded to return to duty.

Next are the plucky Bombay Miners and Sappers who suffered ten casualties.  Three recovered and seven remain under medical care.

The well-tested 1st Sikhs had twenty-one casualties. Only one died, two recovered and the rest are still being cared for.

Of twelve casualties among The 2nd Sikhs, two died, one recovered and nine remain under care.

Thirty-two Berkshires were wounded. Amazingly only two died, eight recovered leaving twenty-two under the care of the medicos. However, when the canpaign began, the battalion numbered 101 soldiers. Count what is left, if you please.

Col. Sinclair: "Good Morning General! I hay' the honor to report  only ten wounded, one poor laddy succumbed, I scare believe not more and of the rest one is back to duty whilst eight remain with the Doctor."

General Pettygree: "I'm sorry to learn your Colonel is among the missing, perhaps a prisoner with two of the sowars. That leaves you as the sole British officer in the 9th Bengal Lancers."

Lieutenant Gill: "Aye Sir."

General Pettygree: "Due to your conspicuous duty helping to save the left flank, I promote you to a captaincy placing you in temporary command in Senior Captain Paget's absence."

Captain Gill: "Thank you General."

Casualties were fourteen. Three recovered, three are missing in action including Col. Lawford and eight remain in hospital.

The 10th Hussars guarded the rear of the Khyber Field Force two days ago suffering no losses. When the campaign commenced the regiment had 26 men. Twenty are pictured. Attrition.

The Khyber Field Force will return to Fort Grant ending the 1899 campaign year.
----------
CLOSING REMARKS

1. KHAN'S losses were 276 miniatures. In the course of the next few months 86 recovered; the rest lost.

2. Pettygree's losses were 105. Immediately after the engagement 21 recovered 9 were lost, 3 deemed captured, the rest remaining under care.

3. Two weeks later on 1 November 1899, 23 more recovered, 11 more were lost, 3 still deemed missing whilst the rest remained under care.

4. When campaign time reaches 1 December 1899, D6s will again be thrown for the Imperials still under care.

4. Dr. Watson's staff was thought to have better medical care than KHAN; a campaign convention (liberty?) to keep the Imperials in the field longer against a foe vastly outnumbering it.
----------
Your remarks are welcome below at the word "comments."
----------

Monday, May 3, 2010

Chapter 36: The Next Day

Date: 17 October 1899
Location: Two Miles From The Abandoned Escarpment Camp
Situation: Day After Yesterday's Two Battles
Click or Double Click Images Filling Your Screens With 'Em
------------------------------
Two battles were fought on 16 October, 1899. KHAN attacked The Escarpment Camp at dawn withdrawing to a fixed position behind a stream and ridge two miles away. General Pettygree gave chase fighting a second battle there in the mid-late afternoon holding the field at the end thanks to the arrival of a Relief Column appearing on KHAN's left rear flank. The next day, on 17 October....


The Imperial Army retired to the baggage forming a large three-sided square. One face remained open. From there....

General Pettygree observed....

The arrival of Lt. Col. Savory's Relief Column. His infantry will be posted along the open face of the square. Seen are: 2nd. Sikh Battalion, 3/9th Bengal Lancers and a 7" Howitzer belonging to our familiar 1st Indian Mountain Battery. To the right elephants are drinking at the creek.

Lt. Colonel Savory (2nd. Sikh Commanding Officer) leads The Relief Column in. Waiting from left to right are Times Correspondent Mr. H. Pearson taking notes for his readers and Major J. Mitchell, ADC to General Pettygree in the center.

Better view of the square as The Relief Column's approaches. Within the square are:

Facing You:
2/10th Hussars. Seaforth Highlanders, Bombay Miners and Sappers and 2.5" Mountain Guns {Highlanders kindly on loan from the collection of Der Alte Fritz}

Facing To The Right:
1st Sikh Battalion

Facing Away (Top of image): Berkshires 66th Foot and 2/9th Bengal Lancers

Center of Square: Baggage

Approaching From The Left: The Relief Column previously identified.

Not Shown:
1/9th Bengal Lancers: Off screen upper right.
Lt. Gills Troop of 9th Bengal Lancers: Off screen lower left.
1/10th Hussars: Off screen lower right.

The General on the grey takes it all in. The enemy has vanished.
----------
CLOSING REMARKS

1. Chuck's Remarks:
"My initial plan for this game was to keep most of my troops hidden beyond the river [and behind a long ridge] with a couple of units on the British side of the river to snipe and harass the British as they advanced. I left one unit of swordsmen the British left flank and a unit of rifle men in the center. My plan was to draw the British across the river then hit them with the bulk of my troops. As the British advanced, the hail of fire became too great and I pulled the advance troops back over to the native side of the river."

"About this time one of the special events occurred and 120+ allied fuzzy wuzzies appeared behind my lines. This was great boon to my force and as the game wore on they proved to be one of the best units of the game. They marched clear across the table, under a hail of rifle and cannon fire, saw off a unit of lancers, and assulted and nearly broke the main British [dog-leg line]. The Britsh managed to spot some of my hidden troops beyond the river and halted their advance. This forced me to deviate from my plan as I now didn't think the British would advance across the river. I sent a large portion of my troops across the river so they would have time to organize before the foe advanced any closer."

"I left a large cavalry unit and a unit of Household rifles hidden to the rear and I'm glad I did. The last special event card came up planting a large British force on my left flank behind my lines. If I hadn't had those hidden troops I would have been in real trouble. As it turned out the British relief force didn't advance much beyond its starting point and we just ended up trading pot shots at each other for the game."

"My advance across the river was a bit of a surprise and did quite a bit of damage to the British force. [Ed note: No kidding!!] The outcome of the game came down to a couple of close combat fights. The fuzzies on the British right side and some swordsmen in the center. The fuzzies fared well in combat but had suffered a lot of casualties on the way in and just couldn't break the British right flank. The swordsmen in the center managed to push the British back and were close to breaking them until General Pettygree himself intervened using his leadership to hold his troops in place."

"Bill and I agreed to call the game at this time as both sides had suffered a lot of casualties. The British had won the battle but due to the heavy losses they lost the campaign of 1899; at least for the time being. This was a lot of fun to play and Bill is an excellent opponent. I'm looking forward to the next instalment."

2. It is not possible to gather friends for weekend games as much as all of us would like; a natural thing. So the decision was made last year to have short session games on occasional weeknights. If a couple of evenings are needed, all the better. This battle was one of these between Chuck and myself who lives a short two town distance away; ten miles I suppose.

3. The game was played in three sessions on weeknights. The third session was only one turn wherein General Pettygree held the line as miraculously explained in the previous chapter. All three sessions were nail biters! A good thing for colonial gaming.

4. Viewers/readers, your remarks are always welcome. Click on the word "comments" below.

----------

Thursday, April 22, 2010

Chapter 35: Pettygree In Extremis

Date: 16 October 1899
Location: Two Miles From The Escarpment Camp
Situation: Imperial Battle Line Ten Hours After The Sunrise Battle Of The 16th
In Extremis: Grave circumstances
Sir!: Images expand amazingly if clicked once or even twice.
------------------------------
Ferocious Tug counterattacks were described in Chapter 34. The Imperial left held, the foe dispatched. On a side table, the Imperial right, Blackiston's wing was forced backwards. Shocking numbers of his foe thereafter wheeled to cross to the main table to attack the flank of....

The Imperial Center

Before this we return to less turbulent moments there.

Imperial Center: 1st. Sikhs on the left. Berkshires on the right. The foe lightly holds the far bank. One might entertain thoughts of an easy crossing if not for the unknown of what might be hidden beyond the ridge at the top of the image. And so....

The square forms line with the Sikhs conforming. Berkshires look half right. A new foe approaches.

Berkshires! MAKE READY --- AIM --- FIRE!      

At the image top is the side table and the attack approaching Blackiston's Right Wing described in the previous chapter. Blackiston was tumbled backwards by overwhelming numbers. In next minutes that foe wheeled directly toward you dear reader forcing the Berkshires....


Into the L-shaped line here. Unfortunately for the Berkshires this reduced frontal firepower. The foe to their front along the stream seeing an opportunity, charged home. The time of close action was upon them and the adjacent Sikhs. Will they hold? And what about the Berkshires firing in the lower right of the image. Pressure mounts. We turn around....


Viewing things from KHAN's perspective and see why. The Berkshires and Sikhs are engaged in hand-to-hand close action to their front; (image middle right). The portion of the Berkshires forming the L atop a ridge are blazing away in rapid fire mode trying to stop an oncoming mass, the mass that pushed back Blackiston's  Right Wing. However,  we see his 15 Pdrs. and Bombay Miners and Sappers giving fire into their aggressive opponents rushing onwards - unstoppable. Blackiston's 9th Bengal Lancers (top left) arrive onto the main table.   

The climax of the battle is near.

As KHAN and the traitorous Rajah of Beberra watch it all unfold. And now....

Correspondent Mr. H. Pearson calmly takes notes behind the Berkshire firing line. Coming toward him through the smoke of Martini Henry rapid fire volleys, he observes....

The victors over Blackiston's command charging straight for him. A ferocious melee will occur atop the ridge. From there the Berskshires poured out a last volley and then engaged the foe in melee. It was touch and go with the foe charging uphill through a brush line. And....

KHAN's allies have finally had enough. Unable to break the Berkshires they routed away to the side table. Count them if you wish. The original number was 126. Meanwhile we return to the front of the Berkshire line where....

We see the Berskshires have been pushed back! (They lost the first round of melee and are forced back 6")
Losses are rising as....

General Pettygree rides forward to encourage the fighting Berkshires. The melee round just lost required a morale test with a modified result of 6 to continue. A failure will mean rout with a likely pursuit by the foe. If a pursuing foe touches routers, the routers are all cut down. Let's throw for morale.

Two dice are cast into the air, spinning, descending and finally crashing onto the tabletop. After modifiers are applied the result = 5.                    ROUT!

My heart sinks. My eyes close. I can't look. This means utter disaster. Pettygree is in extremis. He might even be lost. Chuck is politely expectant and kindly sympathetic. There is one last desperate measure to apply. We do not yet know what the general's charisma value is. Throwing a 1D6 will determine this. 1 = -1 (no good!), 2-3-4 = 0 (unhelpful), 5 = +1 (oh pah lees!) and 6 = +2 (yes!)

Searching for the right die, I hold it, look at it silently telling it what to do, pausing twice to throw it. I breathe deeply and cast. It soars into the air several feet. The familiar arching apogee is attained and it begins a tumbling descent to the ground. It hits, bounces and comes to a stop. A 6 shows for a +2!

I'm saved. Chuck groans.The Berkshires can continue where they are. Huzzah!
----------
However, given losses to both sides Chuck and I decided this third game session should end. Another round of melee would prove nothing and with KHAN's allies in flight there seemed no point to continue. The game was stopped with the Imperials holding the field whilst KHAN withdrew with the satisfaction he has probably ended the campaign of 1899. Imperial losses are severe.

Contributing to the decision for KHAN to withdraw was the sudden appearance of an Imperial Relief Column on his left rear flank. You may remember seeing them in the previous chapter. 

Here they are again; 2nd Sikhs in square, 3/9th Bengal Lancers and a 7" Mountain Howitzer.

KHAN committed his reserve to oppose them. The Imperials formed line to fire. Your view is from the main table looking onto the side table. The gap between the two means nothing. It is solely a convenience so Chuck and I can walk around without needing to climb onto tables to move miniatures.

Had the Imperial flanking force not arrived, KHAN's reserve of Red Sash Horsemen (48) and Household Rifles (36) and Swordsmen (36) would have been used against Pettygree in the center most likely with very unhappy consequences for the General.

No serious fighting happened here because the end of the battle was near and KHAN needed his reserve to cover the orderly withdrawal General Pettygree was content not to dispute.
----------
CLOSING REMARKS
1. While all the above was going on, a last stand was being formed around the baggage way back in the rear of the Imperial Center. A company of 1st Sikhs was already there. Soon to arrive would have been:
Seaforth Highlanders, Lt. Gill's 9th Bengal Lancer Troop, the 10th Hussars already nearby guarding the rear and the 9th Bengal Lancer remnant retreated from the side table. You can see this eight and ten photos back.

2. There were three random events enclosed in as many envelopes given to Chuck. He only knew one was good for him, one was good for me and one was neutral. He had the option to fully determine when to use them. His method was to pick an envelope one at a time and dice for when to open each envelope. Luckily for him the first was the arrival of KHAN's Allied Host of 126 warriors, the ones who tumbled Blackiston's Right Flank. These arrived in Session #1. The second envelope message selected said "Nothing" early in Session #2. The third allowed the Imperial Flanking Force to arrive late in the game mid-point in Session #2.

3. From a design perspective, this turned out perfectly for the scenario though other results might have been almost as good. Imagine the above in reverse order. What might have happened?

4. Chuck plays his KHAN aggressively making for fun and unexpected tension and surprises, the kind so vital in Colonial tabletop gaming! He runs rings around me!

5. In a way, one die throw, the one for General Pettygree's charisma, decided the game. Well done General. Lucky fellow! 

6. Post battle topics will appear soon; casualty reports, what nots and a few more photos. Your comments are welcome below. Thank you for looking in. 
----------